Throwing Better: The Mechanics, Arm Care and Practice Plan for Softball Players
Quick Answer: A good throw starts from the ground, not the shoulder: step toward your target, let your hips rotate before your arm comes through, keep your elbow at shoulder height at release, and finish with a full follow-through across your body. Arm-only throws are the number one cause of sore shoulders in rec softball. Warm up with a distance ladder every single time, and do band external rotations twice a week.
The throw is rec softball’s most visible skill and its least practiced one.
Everybody takes batting practice. Almost nobody spends twenty minutes a week on throwing. Which is strange, because a bad throw is far more publicly humiliating than a bad at-bat — and unlike hitting, throwing mechanics improve fast once someone tells you what’s actually wrong.

What Are Correct Softball Throwing Mechanics?
Five components, in the order they happen.
1. The grip. Four-seam, across the wide part of the seams, with your index and middle fingers on top and your thumb underneath. Hold it in your fingertips, not choked into your palm — you should be able to see daylight between the ball and your palm. The four-seam grip produces true backspin, which is what makes the ball carry straight instead of tailing.
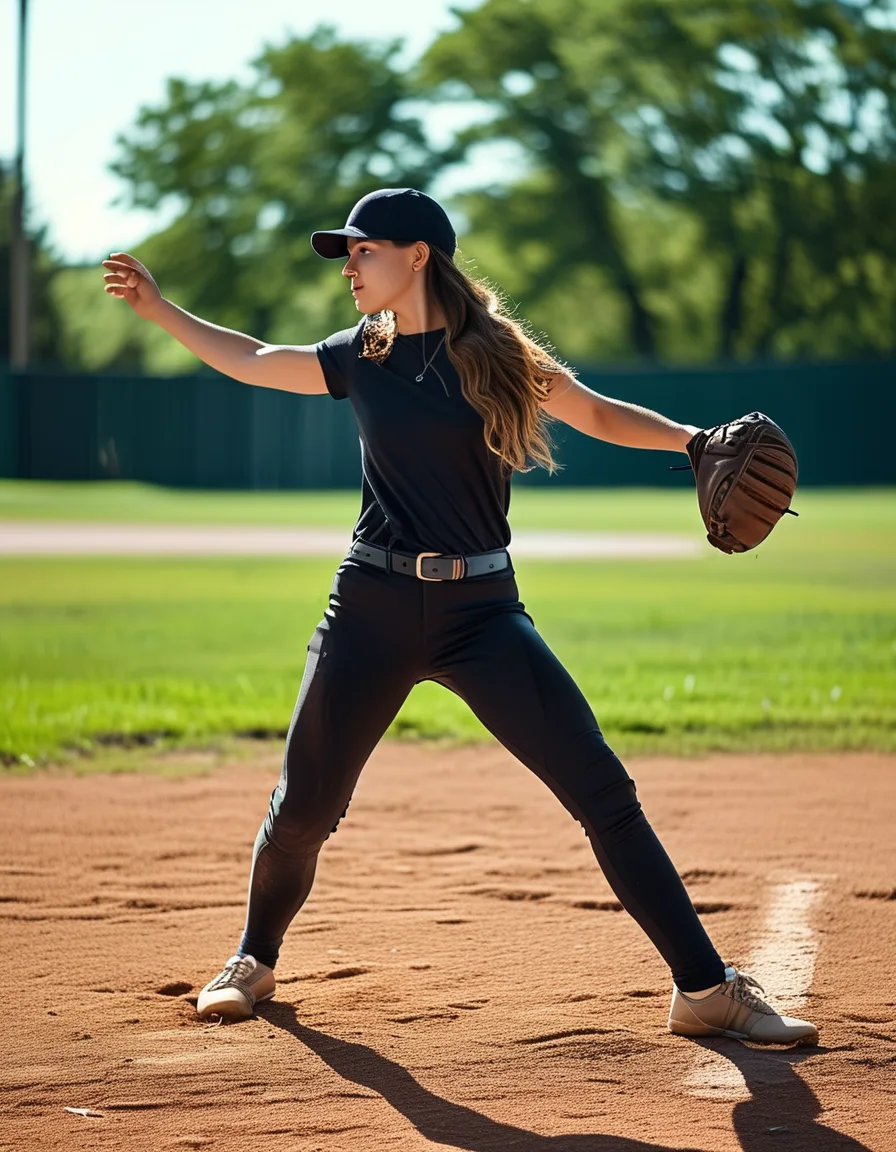
2. The footwork. The throw starts from your feet. Step or shuffle toward your target with your glove-side foot, transferring weight from your back leg to your front. Your front shoulder points at the target before anything else moves.
This is the step most players skip, and it’s why their arms hurt.
3. The hips lead. Your hips rotate toward the target before your arm comes forward. The arm follows the body, not the other way around. If your arm arrives at the same time as your hips — or before them — you’re generating all the force with your shoulder.
Arm-only throws are the sore-shoulder factory. That’s the whole diagnosis for most rec-league arm pain.
4. The arm path. A circular motion: hand breaks down out of the glove, back, then up. At release, your elbow should be at roughly shoulder height — dropping below that is the single most common mechanical fault and the one most associated with elbow and shoulder pain. Fingers stay on top of the ball.
5. The follow-through. Your throwing arm finishes across your body toward the opposite hip, and your back leg swings through. Stopping the arm abruptly is what forces the small stabilizing muscles to decelerate a fast-moving limb — and that bill comes due.
The self-audit: film yourself from the side with a phone on a fence. Watch two things — do your hips lead your arm, and is your elbow at shoulder height at release? Those two checks catch most problems.
How Do You Throw More Accurately?
Accuracy lives in three places, and only one of them is the arm.
Your eyes. Look at the receiver’s chest, not at the ball, not at the ground, not at the runner. Wherever your eyes go at release, the ball tends to follow. Chest-high is the target law — a chest-high throw is catchable by anyone; an ankle-high throw is a bad hop waiting to happen.
Your follow-through. Direction of the follow-through determines direction of the ball more than anything the arm does mid-motion. A throw that sails high almost always comes from a follow-through that stopped early.
Your front shoulder. If it flies open before release, the ball goes to the glove side. This is the most common cause of consistently pulling throws.
Arm Care: Protecting Your Season
This is the section rec players skip and then regret in July.
The warm-up ladder — every single time, no exceptions.
Start at about 10 meters with easy throws. Move back in stages — 15m, 20m, 25m — taking 5–8 throws at each distance, gradually increasing effort. Reach your position distance only after 25–30 throws total. Budget 8–10 minutes.
The cold-arm rocket on the first throw of the day is the classic rec-league strain, and it’s entirely preventable.
Band work, twice a week. External rotations, internal rotations, and scapular retractions with a light resistance band — 2 sets of 15 each. Ten minutes total. Softball throwing is an overhead sport, and the rotator cuff and scapular stabilizers are what protect the joint. This is the highest-return injury prevention available and almost nobody does it.
Volume awareness. Track roughly how many throws you make in a practice. Arms have a workload budget, and a 200-throw practice session followed by a game the next day is how soreness becomes injury. On a sore-arm day, take reps at first base or hit — don’t throw through it.
Between games: gentle stretching, adequate protein, and sleep do more than anything else. Ice is a comfort tool more than a repair mechanism; use it if it helps you feel better, but don’t mistake it for treatment.
5 Mistakes That Wreck Arms and Accuracy
- Throwing arm-only. No step, no hip rotation, all shoulder. The root cause of most rec-league arm pain.
- Dropping the elbow below shoulder height. Feels natural, loads the elbow and shoulder badly, and costs accuracy.
- Skipping the warm-up ladder. “I’ll just take it easy on the first few” is not a warm-up. The ladder takes eight minutes.
- Flying open with the front shoulder. Costs both velocity and accuracy, and it’s usually caused by rushing the step.
- Throwing through joint pain. General muscle soreness in the arm is normal after a hard session. Sharp pain, or pain located at the joint line of the shoulder or elbow, is a stop sign. Throwing through it is precisely how rec seasons end early.
Pain vs. Soreness: How to Tell
- Normal: diffuse muscle soreness in the upper arm or back of the shoulder, worst 24–48 hours after a heavy throwing day, improving with light movement.
- Not normal: sharp pain at the moment of release, pain located specifically at the front of the shoulder or the inside of the elbow, pain that wakes you up, loss of velocity accompanied by pain, or numbness or tingling into the hand.
When to see a professional: any of the “not normal” list, or soreness that hasn’t resolved after a full week of rest. Shoulder and elbow issues respond well to early intervention and badly to being ignored — a physical therapist who works with overhead athletes is the right person to see.
A note on age: masters and older rec players need longer warm-ups and more recovery days for the same throwing volume. Same throws, more preparation. That’s not a decline, it’s just the correct protocol.
A 20-Minute Weekly Practice Plan
Twenty minutes a week separates you from the rest of the roster by August.
Solo work (10 min):
- Draw a chest-high square on a wall or use a rebounder net
- 20 throws at the target, focusing on one cue at a time — step, hip lead, elbow height, follow-through
- Add 10 quick-release reps from a fielding position
Partner work (10 min) — catch with purpose, not just warm-up:
- Distance ladder: 10m → 25m, calling chest targets
- Accuracy game: points for hitting the chest, minus for anything below the waist. Best of 20.
- Quick-release rounds: 10 throws where the goal is glove-to-hand transfer speed
- Long toss, once a week: stretch out to 40–50m, accepting arc at distance, then come back in with line drives at position distance
Position-specific touches:
- Infield: quick-release feeds, transfer speed. Fractions of a second become outs.
- Outfield: the crow-hop and the one-bounce relay throw. A one-bounce throw that reaches on line beats an air throw that sails every time.
Mini FAQ
Why does my shoulder hurt after throwing?
Almost always mechanics rather than fitness. The two usual culprits are throwing arm-only without stepping and rotating the hips, and dropping the elbow below shoulder height at release. Fix those, add a proper warm-up ladder and twice-weekly band work, and most rec-league shoulder soreness resolves. If pain is sharp or located at the joint, stop and see a physical therapist.
How do you throw a softball farther?
Distance comes from the ground up, not from arm strength. Add a crow-hop for momentum, make sure your hips rotate before your arm, get your elbow to shoulder height, and finish with a full follow-through. Once-weekly long toss — gradually stretching out to 40–50m and accepting arc — builds throwing-specific arm strength better than any gym exercise.
What’s the correct grip for throwing a softball?
Four-seam: fingers across the wide part of the seams, index and middle on top, thumb underneath, held in the fingertips with a gap between the ball and your palm. Larger hands may add a third finger on top. This grip produces backspin, which keeps the ball carrying straight instead of tailing off line.
TL;DR
- Throws start from the ground. Step toward the target, hips lead the arm.
- Elbow at shoulder height at release. Dropping it is the most common fault.
- Full follow-through across the body — an abrupt stop bills the shoulder.
- Eyes on the receiver’s chest. Accuracy lives in the eyes and the follow-through.
- Warm-up ladder every time: 10m out to position distance over 25–30 throws, 8–10 minutes.
- Band cuff work twice a week. 10 minutes, highest-return injury prevention there is.
- Sharp or joint-line pain is a stop sign, not a challenge.
Twenty minutes a week, and by August the ball arrives chest-high and on time all season.
Keep Reading
This article is for general informational and styling purposes only. Fit, sizing, and product availability may vary.